Members receive 15% OFF all items, everyday, for the entire year of their membership period.Click for details.
How to set up the box:
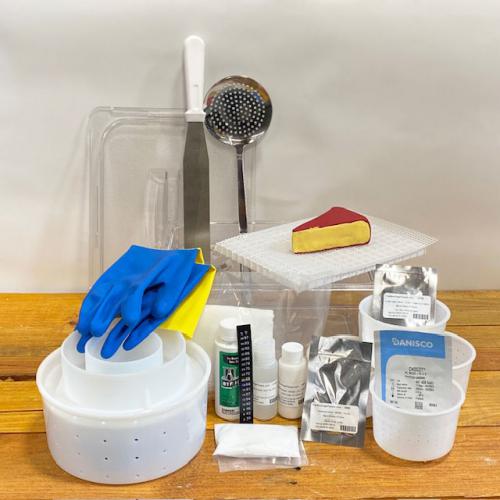
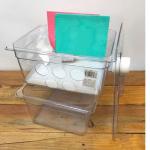
Star San solution as the source of humidity – There are two ripening pans in the kit, one with side cut outs, and one without. The pan without side cut outs should be filled with a cup of sanitizer solution.
Spongecloths bring moisture into the cheese enviroment –Place the two spongecloths on each side of the sanitizer-filled ripening box. Use clips to hold the spongecloths in place. They will need to wick water up from the sanitizer solution. They also need to completely fill the cut out spaces in the modified ripening pan. This will create wet walls in your humidity box.
Hygrometer – The HygroSet II hygrometer has a magnet embedded on the back of the unit and includes a sticker-back magnet plate which can be applied to the inside wall of the humidity box. Install the magnet place inside the box. Calibrate the hygrometer, then install it on the wall of the box.
Drainage – To ensure the excess cheese moisture will drain during ripening, the kit includes a drainage tray as well as a nylon mesh mat sized to sit atop the drainage tray. Be sure all equipment is sanitized before the cheese is introduced into the box.
Calcium chloride to remove excess moisture – This salt is very hydrophilic, which means it loves water and will absorb it out of the air. As it absorbs moisture from the air it will liquify and drain into the lower pan. Fill the aperitif mold with calcium chloride salt when you wish to have a lower humidity in the ripening box. Be sure the liquified calcium chloride is properly draining to the lower ripening pan.
Recommendations
To get comfortable with your ability to monitor and maintain humidity in the box, we recommend that you work with the box for a week or so before making cheese. Try to manipulate and maintain appropriate humidity for the cheese you want to make. Try a couple different temperatures and see how that impacts the relative humidity (RH). Is the internal fan in your refrigerator causing any impact inside the box? Try with the calcium chloride in the box, and try it without for a couple days. Once you have the ability to set and maintain the proper temperature and humidity for your cheese, you are ready! Remember that when you place a fresh-made wet cheese into the box, the humidity will spike at first. The calcium chloride, along with the drainage system of the box, will help you bring the RH back down in a relatively short period of time.
With proper maintenance of humidity, temperature, sanitation, and ventilation, you are on your way to making world class cheese! Have fun!
Note: This is not a stand-alone cheese kit, but a base for a variety of cheese making when you add one or more of our Specialty Cheese Kits, which we have for the following styles of cheese:
For articles and recipes with instructions for making a wide variety of cheeses check out our database of Cheese Making Articles and Info.
How to Return Goods for Refund
All our supplies are guaranteed for one year. Request for refunds occurring more than 30 days after the date of purchase on non-defective goods may be granted as a store credit if the goods are returned in their original condition. Yeast is perishable and should be refrigerated on arrival. No refunds are allowed on sales of living organisms such as yeast and bacteria.
IF YOU PICKED UP YOUR GOODS AT OUR PHYSICAL LOCATION, FOLLOW THESE INSTRUCTIONS.